Đây là cách chuyển các mật khẩu của bạn vào Ứng dụng Passwords của Apple từ một trình quản lý mật khẩu khác Muốn chuyển sang sử dụng ứng dụng Passwords của Apple? Bạn sẽ cần di chuyển mật khẩu thủ công trừ khi bạn đã sử dụng iCloud Keychain trên thiết bị Apple của mình. Quan trọng hơn, bạn chỉ có thể nhập mật khẩu trong phiên bản macOS của ứng dụng Passwords. Tôi sẽ hướng dẫn bạn cách. Xuất mật khẩu từ một trình quản lý mật khẩu bên thứ ba Đầu tiên, bạn cần xuất tất cả các mật khẩu từ trình quản lý mật khẩu hiện tại của bạn. Ứng dụng Passwords của Apple hỗ trợ nhập mật khẩu thông qua file CSV, vì vậy hãy chọn định dạng này khi xuất. Tôi sẽ hướng dẫn xuất mật khẩu từ Bitwarden vì đó là cái tôi đang sử dụng. Tuy nhiên, quy trình này cũng sẽ tương tự đối với các trình quản lý mật khẩu khác. Vì vậy, hãy làm theo hướng dẫn sau: Khởi chạy Bitwarden trên Mac của bạn. Sau đó, nhấp vào File trong thanh menu và chọn Xuất kho lưu trữ từ danh sách thả xuống. Nhấp vào danh sách định dạng File, chọn .csv từ các tùy chọn có sẵn và nhấp vào Xuất kho lưu trữ. Nhập mật khẩu chính của bạn khi được nhắc và nhấp vào Xuất kho lưu trữ một lần nữa. Cuối cùng, chọn thư mục trên Mac của bạn nơi bạn muốn lưu trữ mật khẩu đã xuất và nhấn vào Lưu. Bây giờ khi bạn đã có file CSV, bạn có thể bắt đầu thiết lập Ứng dụng Passwords của Apple. Nhập mật khẩu vào Ứng dụng Passwords trên Mac Với file CSV mật khẩu đã xuất, việc nhập chúng vào Ứng dụng Passwords của Apple là đơn giản. Khởi chạy ứng dụng Passwords trên Mac của bạn. Bạn có thể cần xác thực bằng Touch ID hoặc mật khẩu. Chọn File trong thanh menu và chọn Nhập mật khẩu. Nhấp vào Chọn File trong menu xuất hiện. Duyệt đến thư mục mà bạn đã lưu file CSV mật khẩu đã xuất, chọn nó và nhấp vào Quản lý. Xác thực bản thân một lần nữa và chờ quá trình nhập hoàn tất. Khi nó đã nhập hoàn tất, bạn sẽ thấy tất cả thông tin đăng nhập từ trình quản lý mật khẩu trước đó trong mục Tất cả trên ứng dụng Passwords. Lưu ý rằng các mật khẩu đã nhập sẽ không thay thế mật khẩu hiện có trong ứng dụng. Đồng bộ hóa mật khẩu trên tất cả thiết bị Apple của bạn Sau khi đã nhập mật khẩu vào ứng dụng Passwords trên Mac, chúng sẽ bắt đầu xuất hiện trong ứng dụng Passwords trên iPhone và iPad của bạn. Tuy nhiên, nếu chúng không hiện ra, hãy chắc chắn rằng đồng bộ hóa iCloud đã được kích hoạt cho ứng dụng Passwords trên tất cả thiết bị của bạn. Trên Mac, đi đến Cài đặt Hệ thống & gt; Tên tài khoản Apple và nhấp vào Mật khẩu dưới Đã lưu trong iCloud. Sau đó, đơn giản thực hiện xác nhận bằng cách bật chuyển đổi bên cạnh Đồng bộ hóa Mac này và click Hoàn tất. Trên iPhone, vào Cài đặt & gt; Tên tài khoản Apple & gt; iCloud và chạm vào Mật khẩu dưới Đã lưu trong iCloud. Sau đó, bật chuyển đổi Đồng bộ hóa iPhone này và bạn đã hoàn tất! Với chi tiết đăng nhập của tất cả tài khoản trực tuyến của bạn đã sẵn sàng, hãy kiểm tra các bản ghi để đảm bảo không thiếu thông tin đăng nhập. Nếu tất cả các bản ghi đều ổn, hãy đến thư mục nơi bạn đã tải file CSV và xóa nó một cách vĩnh viễn khỏi Mac của bạn. Bạn có thể muốn chuyển sang sử dụng Passwords của Apple vì ngoài việc lưu trữ mật khẩu, nó còn có thể hoạt động như 1 ứng dụng xác thực. Vì vậy, hãy tiến hành, thiết lập nó cùng với các tính năng khác như tự động điền, và đăng nhập vào các trang web và ứng dụng trên các thiết bị Apple của bạn một cách mượt mà. #Apple #Passwords #ImportPassword #iOS #MacOS
Nguồn: https://www.makeuseof.com/how-to-switch-to-apple-passwords/
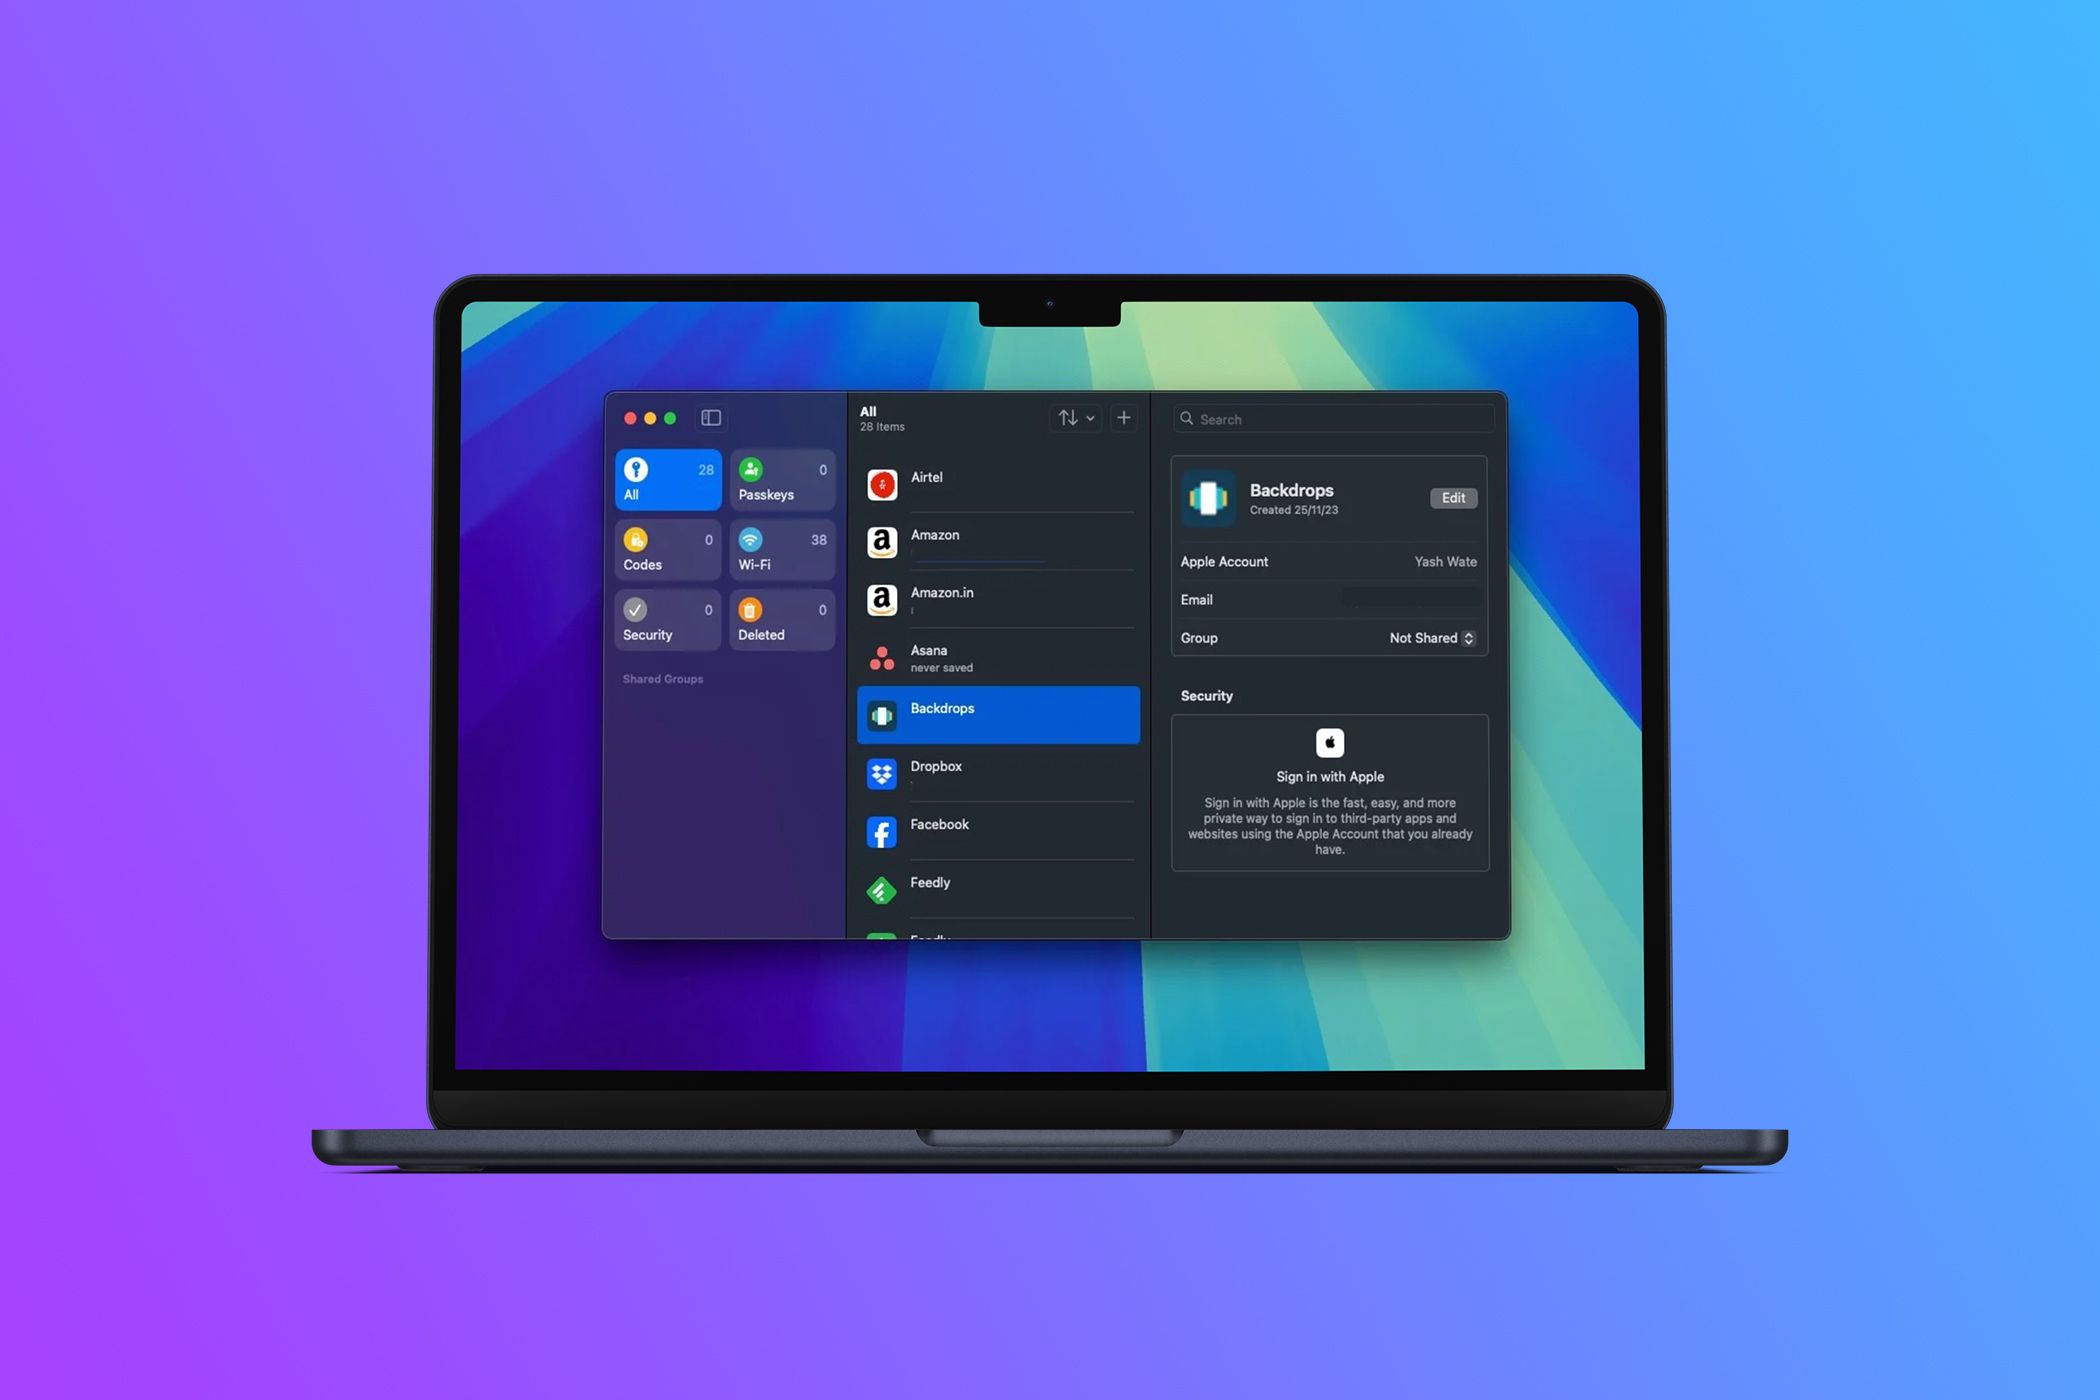
Want to switch to Apple’s Passwords app? You’ll need to move passwords manually unless you already use iCloud Keychain on your Apple devices. More importantly, you can import passwords only in the macOS version of the Passwords app. I’ll show you how.
Export Passwords From a Third-Party Password Manager
First, you need to export all your passwords from your current password manager. The Apple Passwords app supports importing passwords via a CSV file, so be sure to choose it as the export format.
I’ll demonstrate exporting passwords from Bitwarden since that’s what I use. However, the process should be pretty similar for other password managers. So, follow these instructions:
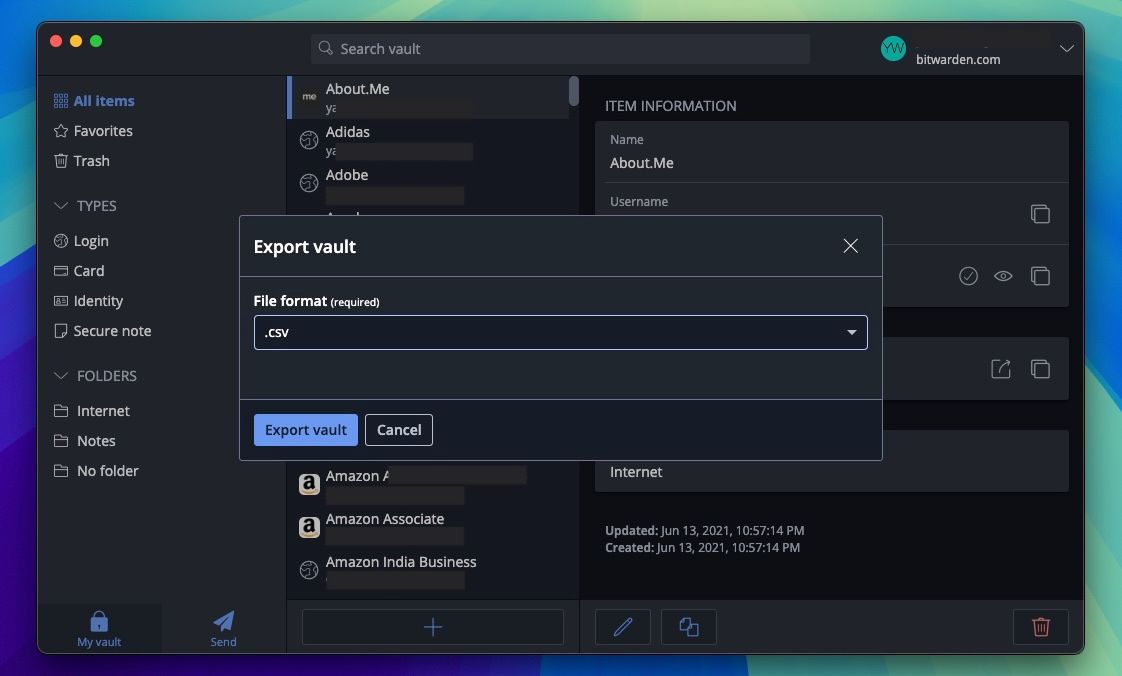
- Launch Bitwarden on your Mac. Then, click File in the menu bar and select Export vault from the dropdown.
- Click the File Format dropdown, choose .csv from the available options, and click Export vault.
- Enter your master password when prompted and click Export vault again.
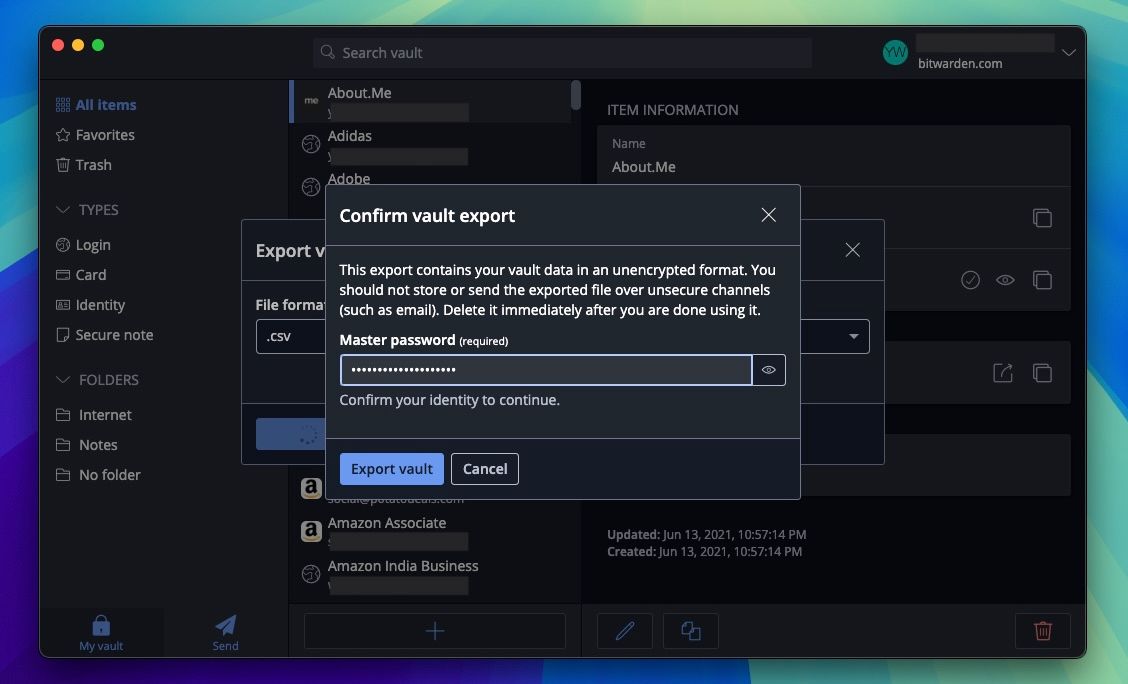
- Finally, choose the folder on your Mac where you want to save the exported passwords and hit Save.
Now that you have the CSV file, you can start setting up Apple Passwords.
Import Passwords Into Apple Passwords on a Mac
With your exported password CSV file downloaded, importing it into Apple Passwords is straightforward.
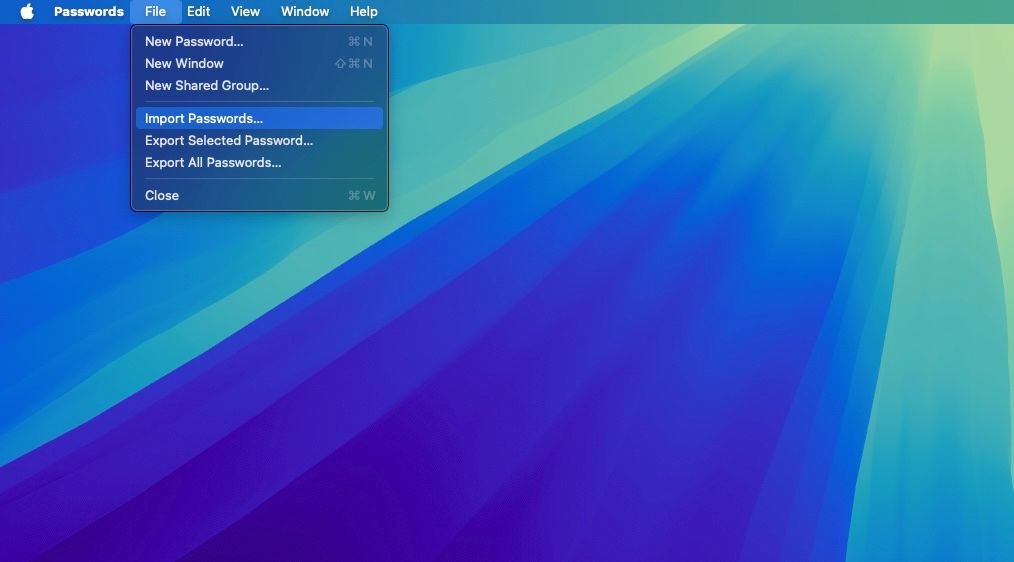
- Launch the Passwords app on your Mac. You may need to authenticate yourself using Touch ID or password.
- Click File in the menu bar and select Import Passwords.
- Click Choose File in the pop-up menu.
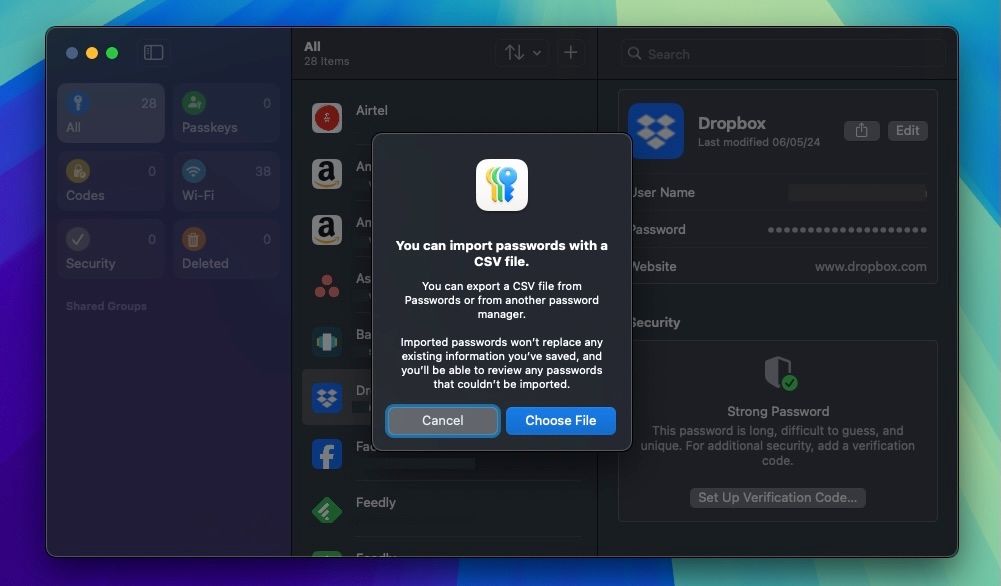
- Navigate to the folder where you saved the exported passwords CSV file, select it, and click Import.
- Authenticate yourself again, and wait for the import process to finish.
Once it does, you should see all your login credentials from the previous password manager in the All tile on the Passwords app. Mind you, the imported passwords won’t replace your existing passwords in the app.
Sync Passwords Across All Your Apple Devices
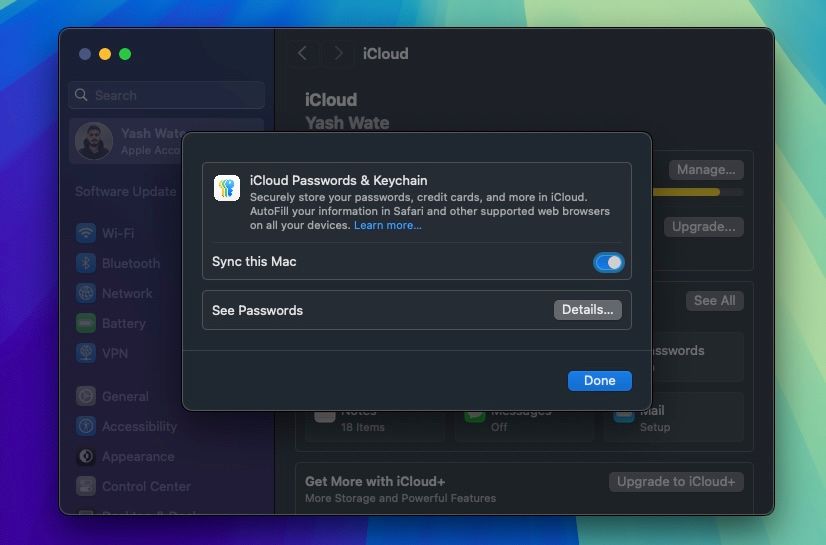
After you’ve imported passwords into the Passwords app on your Mac, they should start appearing in the Passwords app on your iPhone and iPad. However, if they don’t, be sure iCloud syncing is enabled for the Passwords app on all your devices.
On a Mac, go to System Settings > Apple Account name and click Passwords under Saved to iCloud. Then, simply make sure the toggle next to Sync this Mac is enabled and click Done.
On an iPhone, go to Settings > Apple Account name > iCloud and tap Passwords under Saved to iCloud. Then, toggle on Sync this iPhone, and you’re all set!
With the login details of all your online accounts on board, check the entries to ensure no login information is missing. If all the entries are fine, head to the folder where you downloaded the CSV file and permanently delete it from your Mac.
You may want to switch to Apple Passwords because, besides storing passwords, it can serve as an authenticator app. So go ahead, set it up along with other features like autofill, and log in to websites and apps on your Apple devices seamlessly.
[ad_2]
