
#AirPods #TipsAndTricks #Apple #WirelessEarbuds #FindMy #SpatialAudio #AndroidCompatibility #WirelessCharging #SiriAnnouncements
🎧 Cách tận dụng tối đa tai nghe AirPods của bạn 🎧
Nếu bạn đang mong muốn có một bộ tai nghe AirPods mới lấp lánh, chúng tôi hoàn toàn hiểu. Với nhiều dòng sản phẩm khác nhau và nhiều mức giá khác nhau, việc tìm mẫu phù hợp dễ dàng hơn bao giờ hết. Hơn nữa, Apple còn xác nhận rằng việc sạc AirPods sẽ chuyển sang sử dụng cổng USB-C, một tin vui lớn đối với những người đã sử dụng sạc qua cổng USB cho các thiết bị của mình.
Tuy nhiên, so với một số tai nghe không dây hàng đầu khác, AirPods không đi kèm nhiều hướng dẫn sử dụng. Chúng được thiết kế để có thể sử dụng ngay lập tức: chỉ cần đặt chúng vào tai gần một thiết bị Apple, công việc của bạn đã gần như hoàn tất. Tuy nhiên, điều này cũng có thể khiến người dùng mới gặp nhiều câu hỏi về các tính năng của AirPods và cách hoạt động của chúng. Đừng lo lắng, chúng tôi đã có nhiều kinh nghiệm với nhiều thế hệ AirPods khác nhau. Dưới đây là những mẹo và thủ thuật mà mọi người nên biết để quản lý các điều khiển, tiết kiệm pin và nhiều tính năng khác.
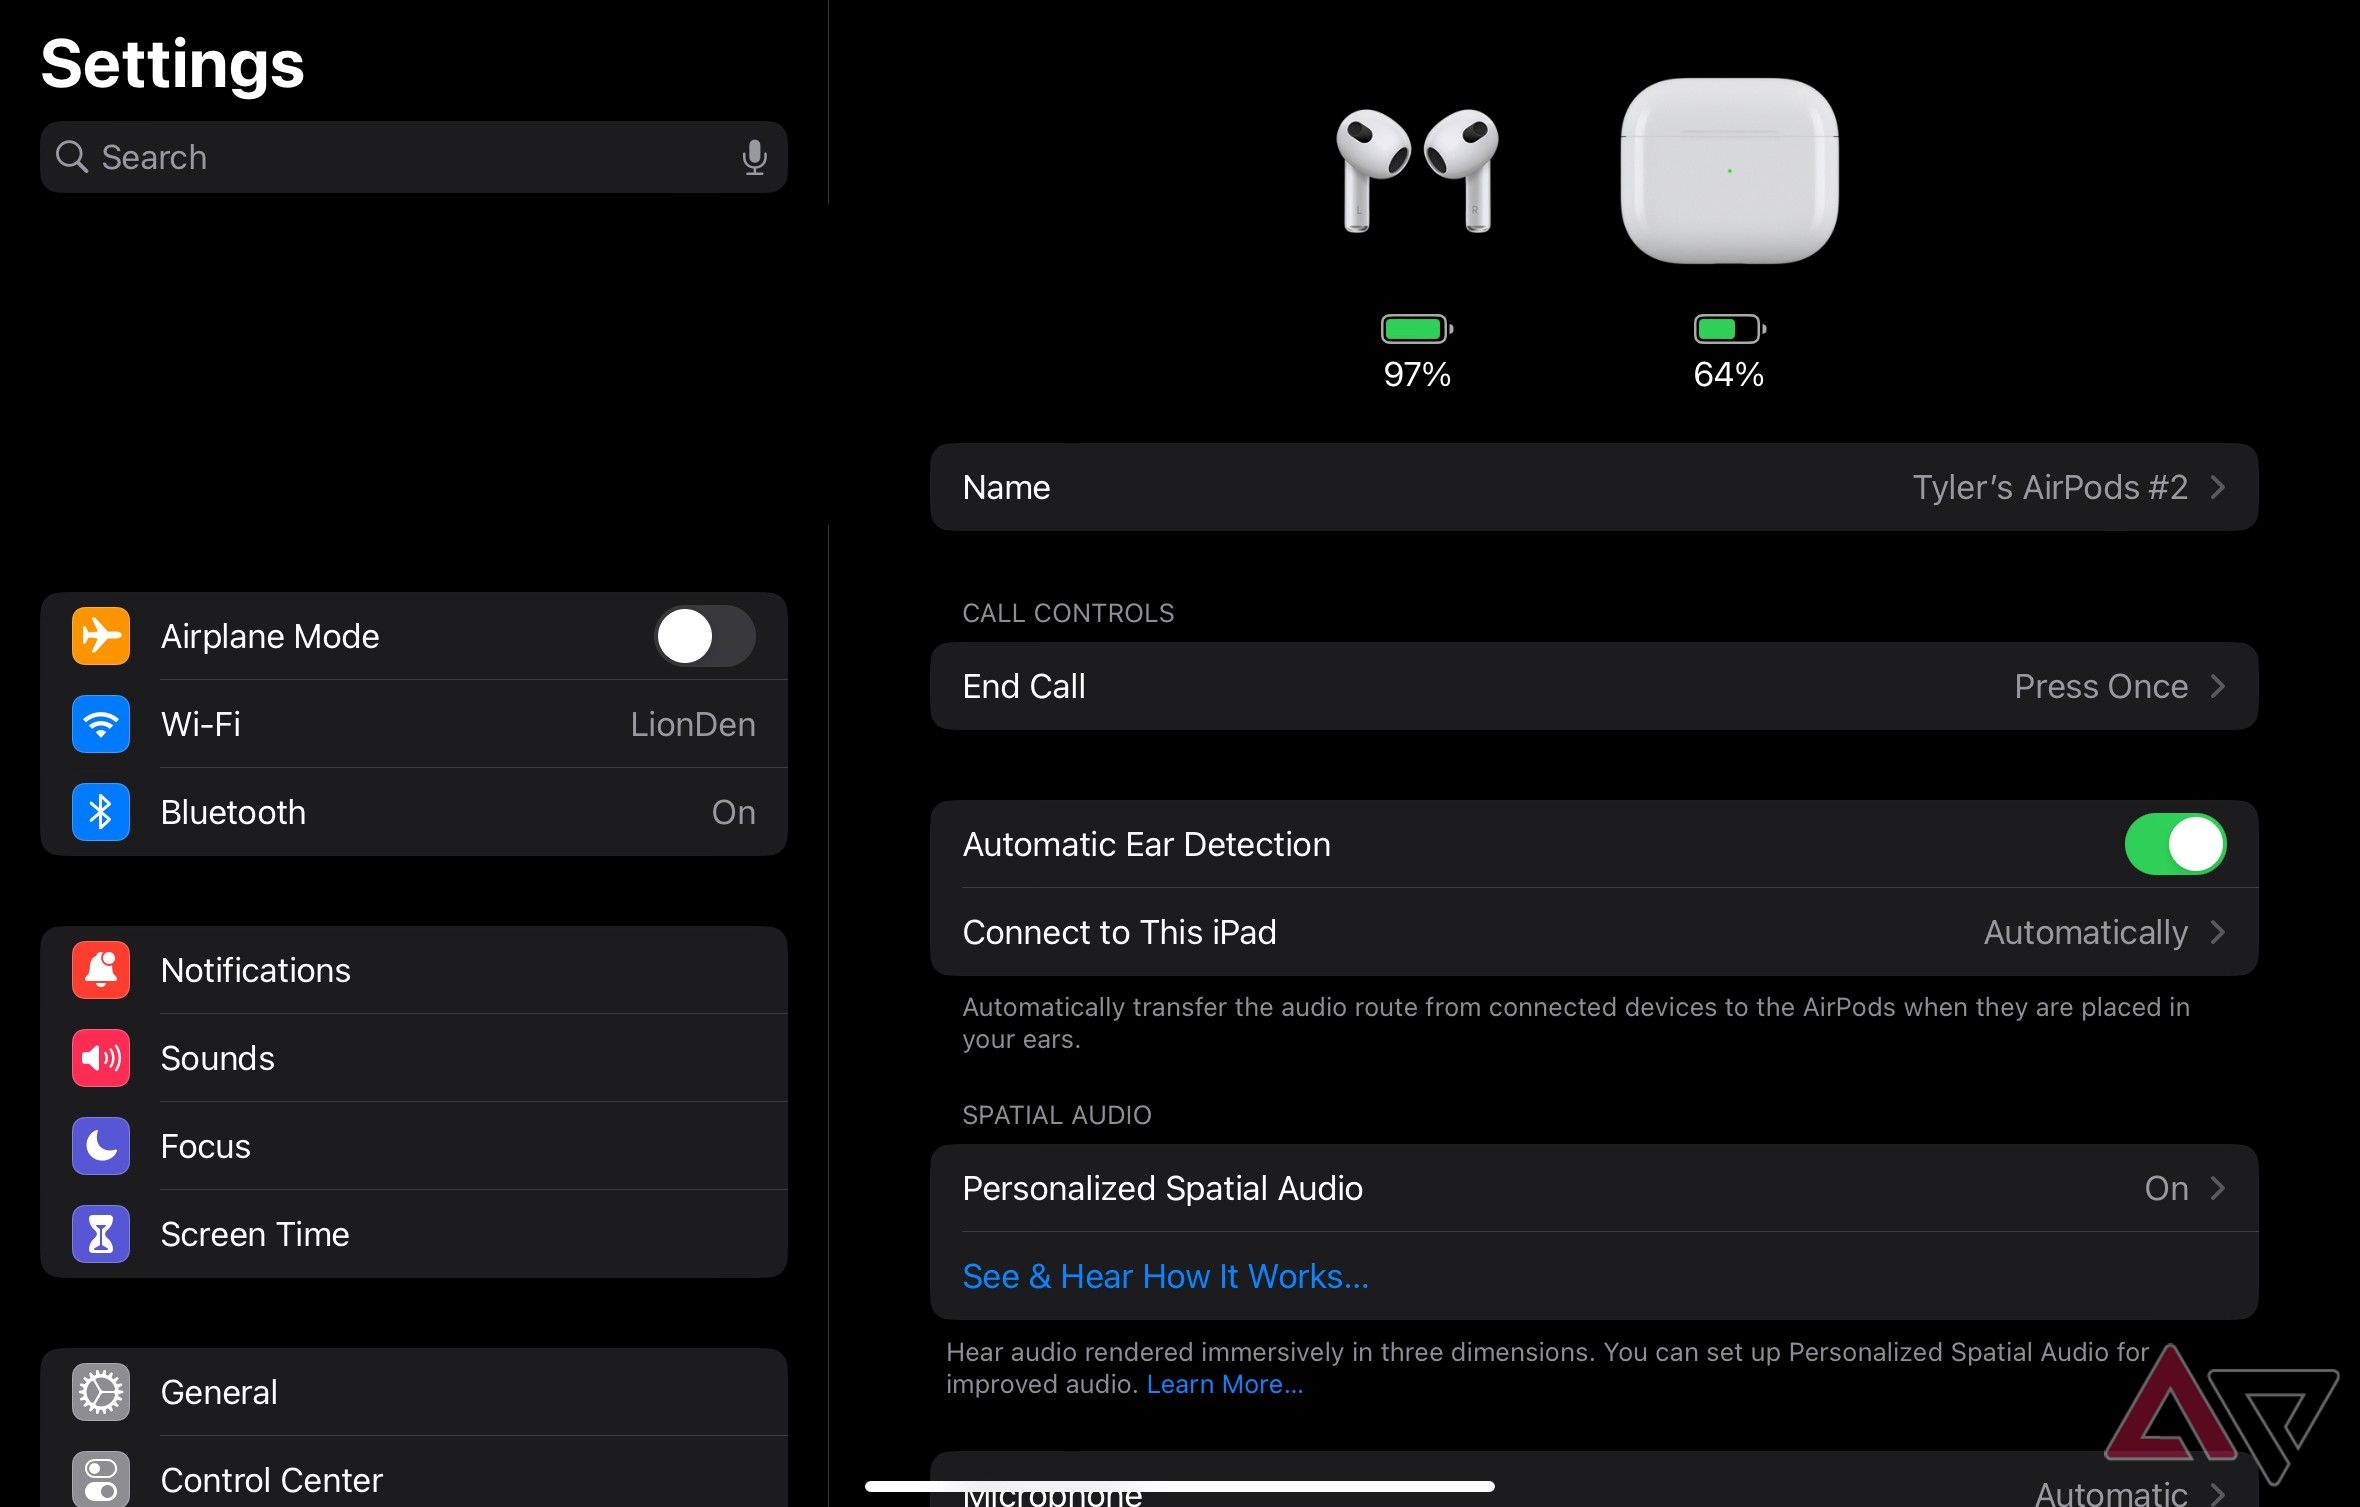
1️⃣ Tùy chỉnh các điều khiển chạm: Tất cả các phiên bản AirPods mới nhất đều có các option điều khiển cho phép bạn kích hoạt các chế độ bằng cách nhấn lên Pods khi chúng đang ở trong tai bạn. Ví dụ phổ biến nhất là nhấp để kích hoạt Siri (hoặc không thì, Siri sẽ nghe liên tục và làm hao mòn pin của bạn). Các điều khiển chạm đã hoạt động khác nhau trên các loại AirPods và AirPods Pro khác nhau, nhưng Apple đã tiêu chuẩn hóa trải nghiệm để nó khá tương tự cho AirPods Pro và AirPods thế hệ 3 mới nhất. Với AirPods đang đeo, bạn có thể truy cập vào Cài đặt trên thiết bị Apple của mình (như iPhone) và chọn chúng ở đỉnh menu để mở các tùy chọn của chúng. Ở đây có nhiều thay đổi bạn có thể thực hiện, nhưng bạn nên tìm phần Cài đặt được gọi là “Nhấn và giữ cho AirPods Pro”. Đây sẽ hiển thị các lệnh nhấn khác nhau mà bạn có thể kích hoạt. AirPods thế hệ 3 mạn hạn hơn, nhưng bạn vẫn có thể tùy chỉnh các điều khiển Cuộc gọi và cài đặt Micro để điều chỉnh AirPod mà bạn nhấn. Hãy trải nghiệm để tìm hiểu và tìm ra điều kiểm soát nào hoạt động tốt nhất cho bạn. À, và nếu bạn gặp khó khăn khi nhấn, đừng quên truy cập vào tùy chọn Cài đặt Độ truy cập nếu nó có sẵn trên AirPods của bạn. Ở đây bạn có thể tùy chỉnh tốc độ nhấn lâu và các tính năng quan trọng khác.
2️⃣ Đảm bảo “Find My” đã được kích hoạt: Cài đặt AirPod không chỉ giúp bạn tùy chỉnh các điều khiển mà còn có thêm nhiều tính năng hữu ích khác. Một phần muốn đến (đặc biệt là nếu bạn không chắc liệu nó đã được thiết lập hay chưa) là mạng Find My, bạn cần kích hoạt nó. Khi bạn bật chức năng này, có thể bạn sẽ phải đăng nhập vào tài khoản Apple của mình và xác nhận một số câu hỏi. Bây giờ bạn có thể sử dụng ứng dụng Find My để tìm vị trí của AirPods của bạn. Bước này đặc biệt quan trọng vì không có thiết bị Apple nào bị thất lạc nhiều như những chiếc AirPod nhỏ nhắn đó. Bạn muốn có một cách để kiểm tra xem chúng có rơi vào đệm ghế, bị mất trong túi thể dục hay chó đã ăn mất một chiếc. Find My cho phép bạn xác định từng chiếc tai nghe và hộp sạc cần thiết, bao gồm bản đồ vị trí cuối cùng mà chúng được phát hiện. Nếu chúng còn đủ pin, chúng cũng có thể phát ra âm thanh để giúp bạn tìm thấy chúng.
(Continued in next message…)
Nguồn: https://www.androidpolice.com/airpod-tips-and-tricks/
If you have your eyes on a shiny new set of AirPods, we don’t blame you. With multiple lines to choose from a variety of price points, it’s easier to find the right model than ever. Plus, Apple has confirmed that AirPod charging is getting switched to USB-C as well, a huge relief to those who already rely on USB charging for their devices.
However, unlike some top wireless earbuds, AirPods don’t come with a lot of instructions. They’re designed to be immediately usable: Pop them into your ears near an Apple device, and your job is almost done. But that can also leave new users with a lot of questions about AirPod features and how they work.
Don’t worry, we’ve got a lot of experience with multiple generations of AirPods. Here are the tips and tricks every user should know to help manage controls, save battery life, and lots more.
1 Customize your touch controls
All the latest AirPods have control options that allow you to active modes by pressing on the Pods while they’re in your ears. The most common example is tapping to activiate Siri (otherwise, she’d listen all the time and drain your battery life).
Touch controls have worked differently on different types of AirPods and AirPods Pro, but Apple has been streamlining the experience so that it’s pretty similar for the latest AirPods Pro and AirPods 3. With your AirPods on, you can cruise over to Settings on your Apple device (like an iPhone) and select them at the top of the menu to open their options. There are many changes you can make here, but you’ll want to look for a setting section called Press and Hold for AirPods Pro. This shows a variety of different press commands you can activate. AirPods 3 are more limited, but you still have Call Controls you can customize and the Microphone setting to adjust which AirPod you press. Play around to learn the controls and find out what works best for you.
Oh, and if you’re struggling with the presses, don’t forget to visit the Accessibility Settings option if it’s available on your AirPods. Here you can customize long press speed and other important features.
2 Make sure “Find My” is enabled
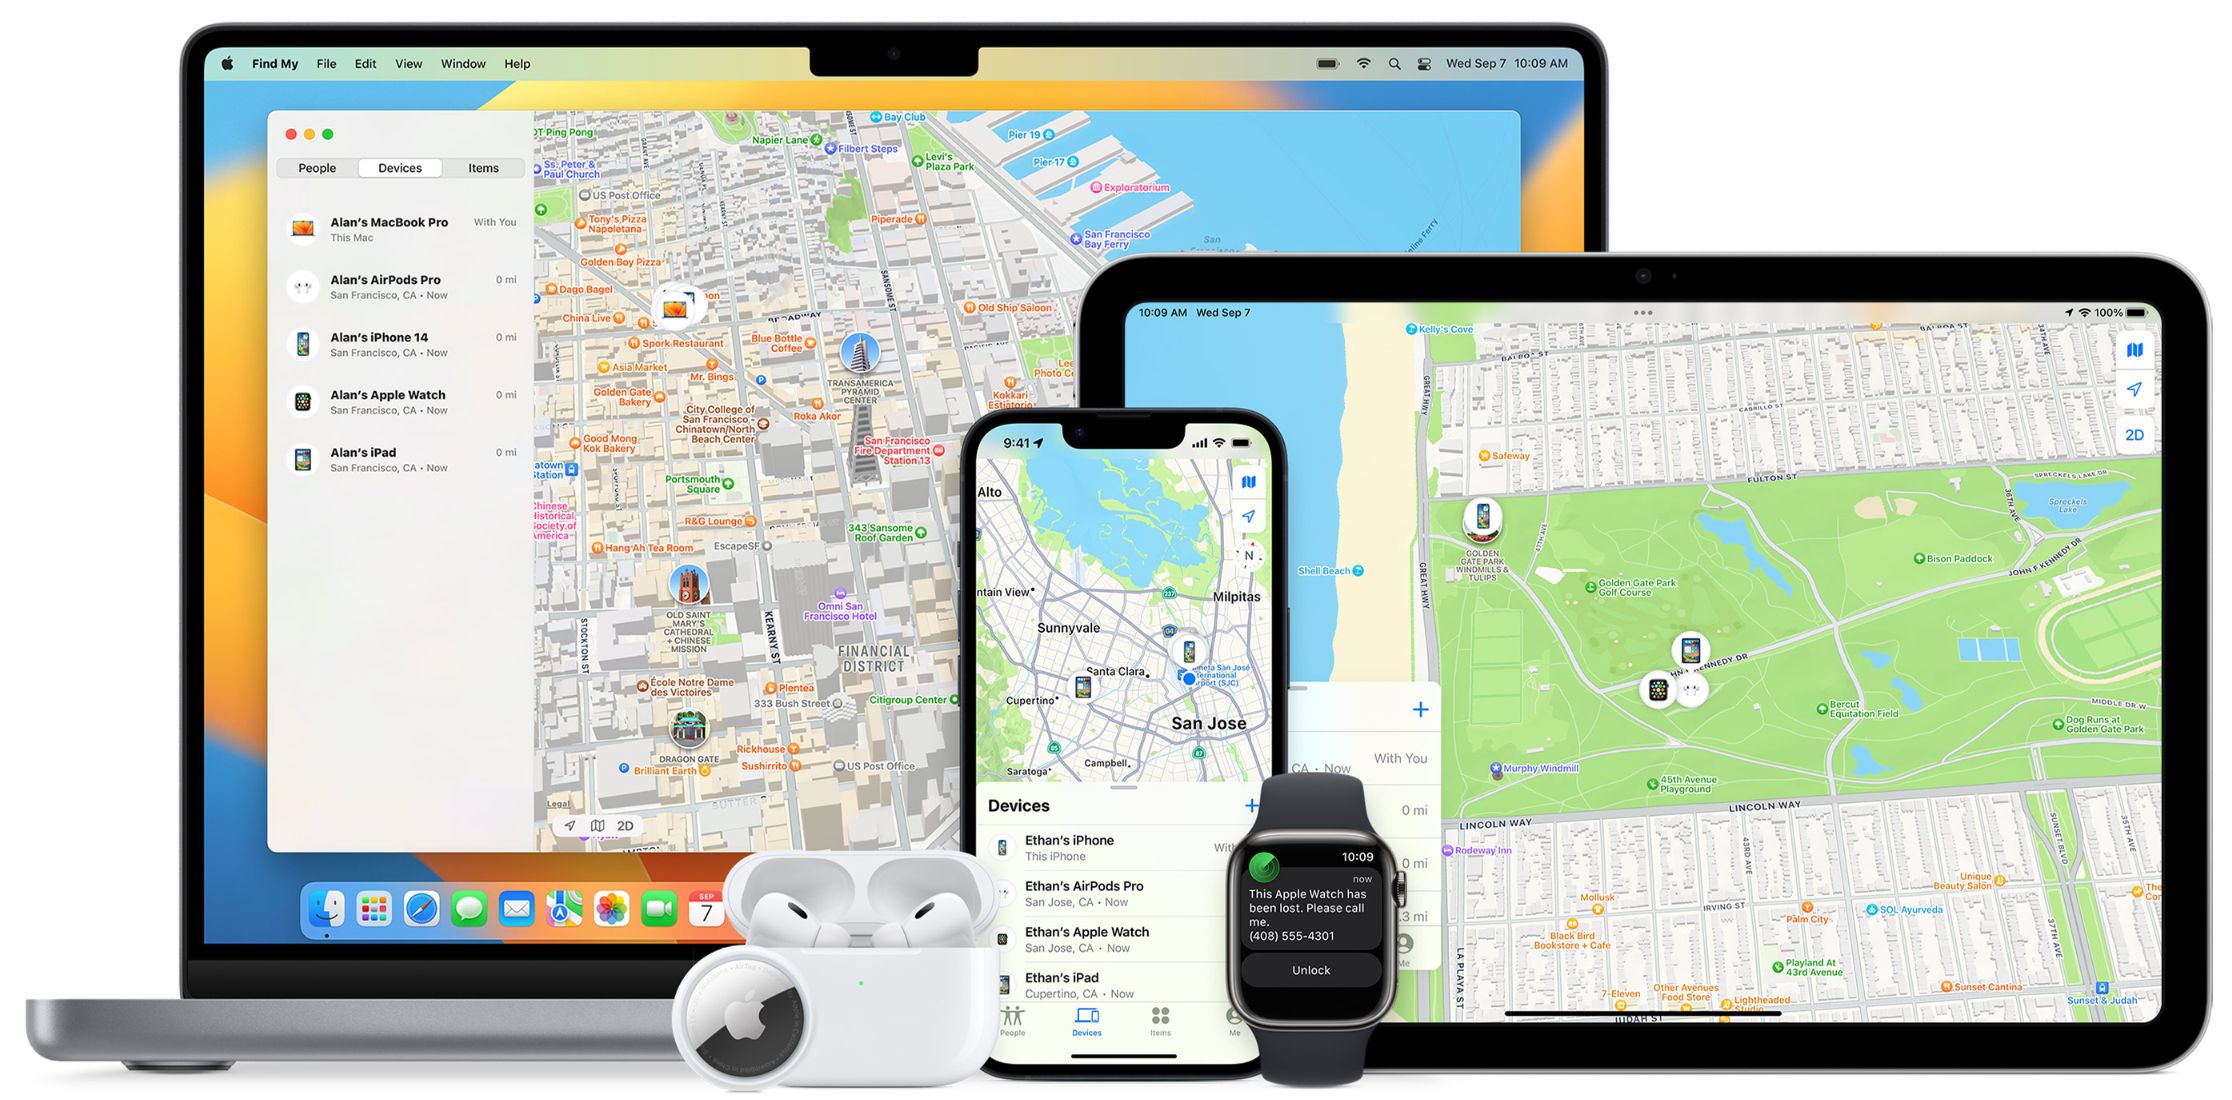
AirPod settings do a lot more than help you customize controls. Another section to visit (especially if you aren’t sure if it’s set up or not) is Find My network, which you want toggled on. When first switching Find My on, you’ll probably have to sign into your Apple Account and confirm a couple of questions. Now you can use the Find My app to locate your AirPods.
This step is particularly important because no Apple device gets lost quite like those little AirPods do. You’ll want a way to check if they’ve fallen into seat cushions or got lost in the gym bag or if the dog ate one. Find My allows you to pinpoint either AirPod and the case as needed, including a map of the last spot they were detected. If they have enough battery power left, they can also sound off a chime to help you find them.
3 Flip the case open to check on battery life
Bring your AirPods near an Apple device that they’ve paired with before, and flip up the charging case to “activate” them. This immediately brings a pop-up on the screen that show how much battery life the charging case has, as well as each of the earbuds.
Use this technique to quickly check if you need to charge up your case, or if one earbud isn’t responding because it’s out of power. Sometimes, one earbud won’t charge correctly if its spot in the case is dirty or it wasn’t aligned quite correctly. A quick check like this can help identify these issues so you know what to do next.
4 Get your spatial audio worked out
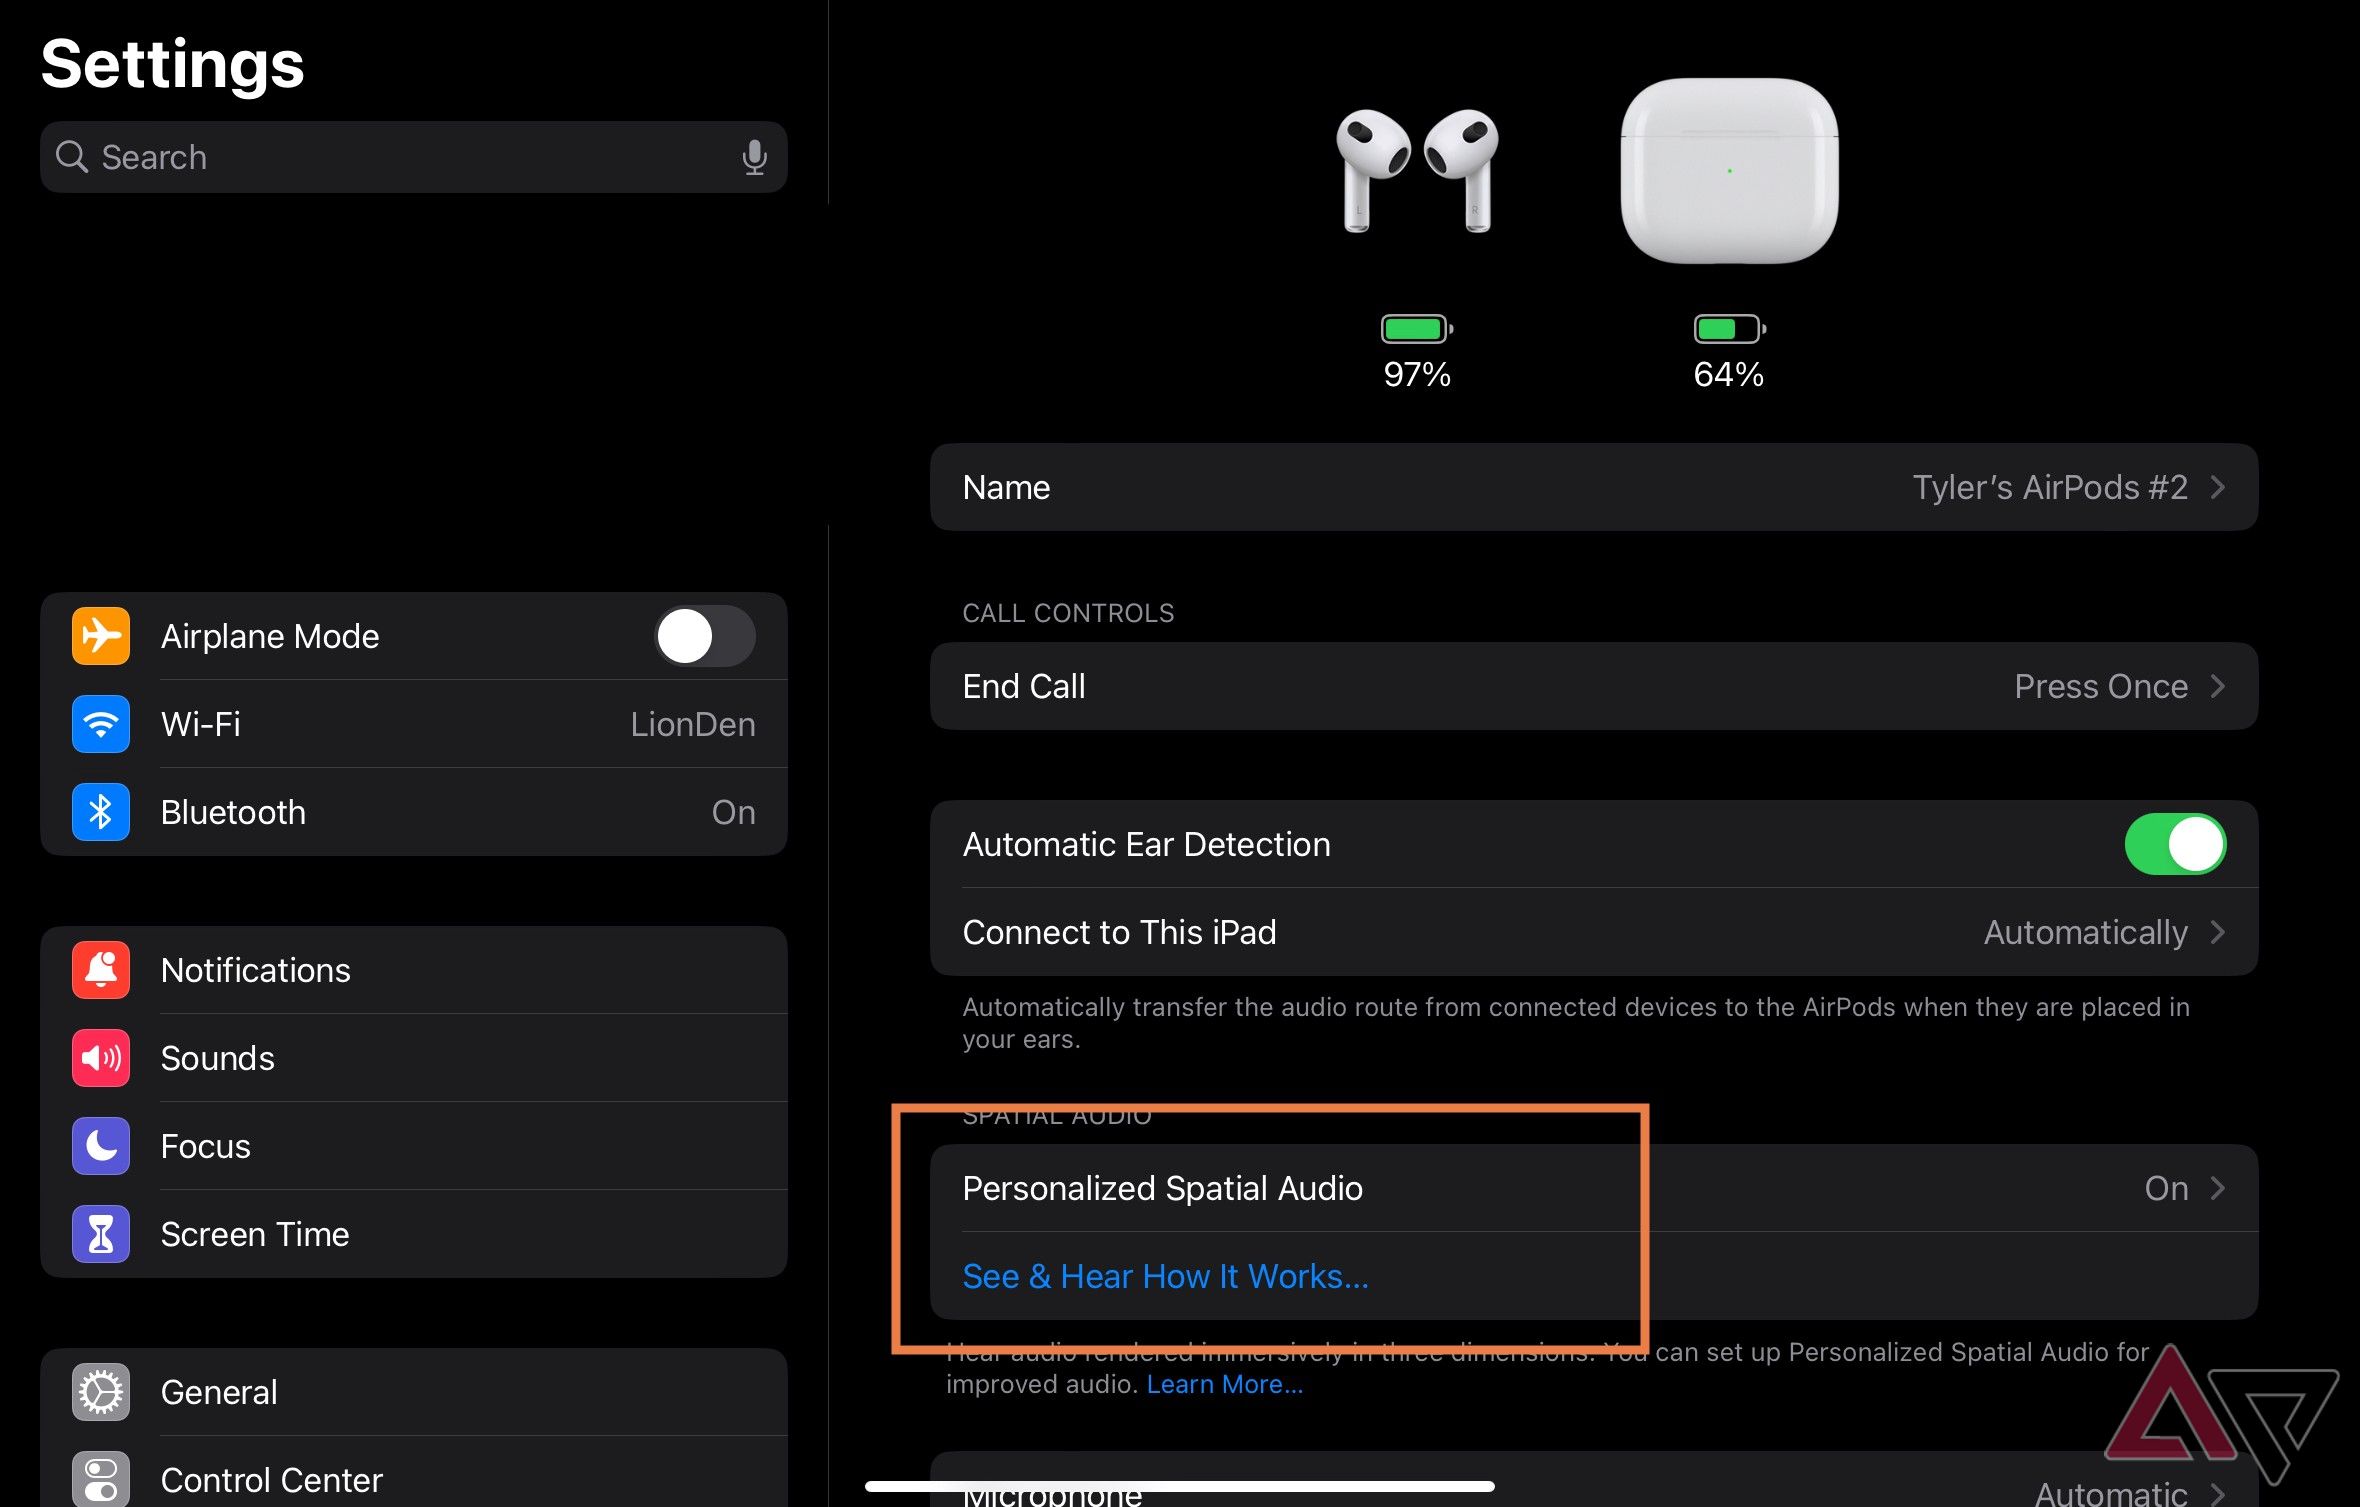
For the latest generation of AirPods 3 and AirPods Pro, the buds support Spatial Audio. This is an Apple term for using extra audio data in music or movie files courtesy of Dolby Atmos to make sound feel more environmental, giving it depth and even making it seem like it’s coming from a certain direction depending on how you move your head.
But there’s a trick to getting these Spatial Audio details right: If you really want accurate results, you have to personalize them. In Settings, you can select Personalized Spatial Audio and then choose to begin the process. You’ll need an iPhone to take scans of your ears, which is just as weird as it sounds and best done with the help of another person to get it right. However, once Apple has completed the process, your Spatial Audio will be more accurate and less “leaky” in sound quality, which is important for frequent users.
Just keep in mind, you do need a newer iPhone from the past several generations and iOS 16 for this trick, but that shouldn’t be a problem for almost every user.
5 Use AirPods with your Android devices
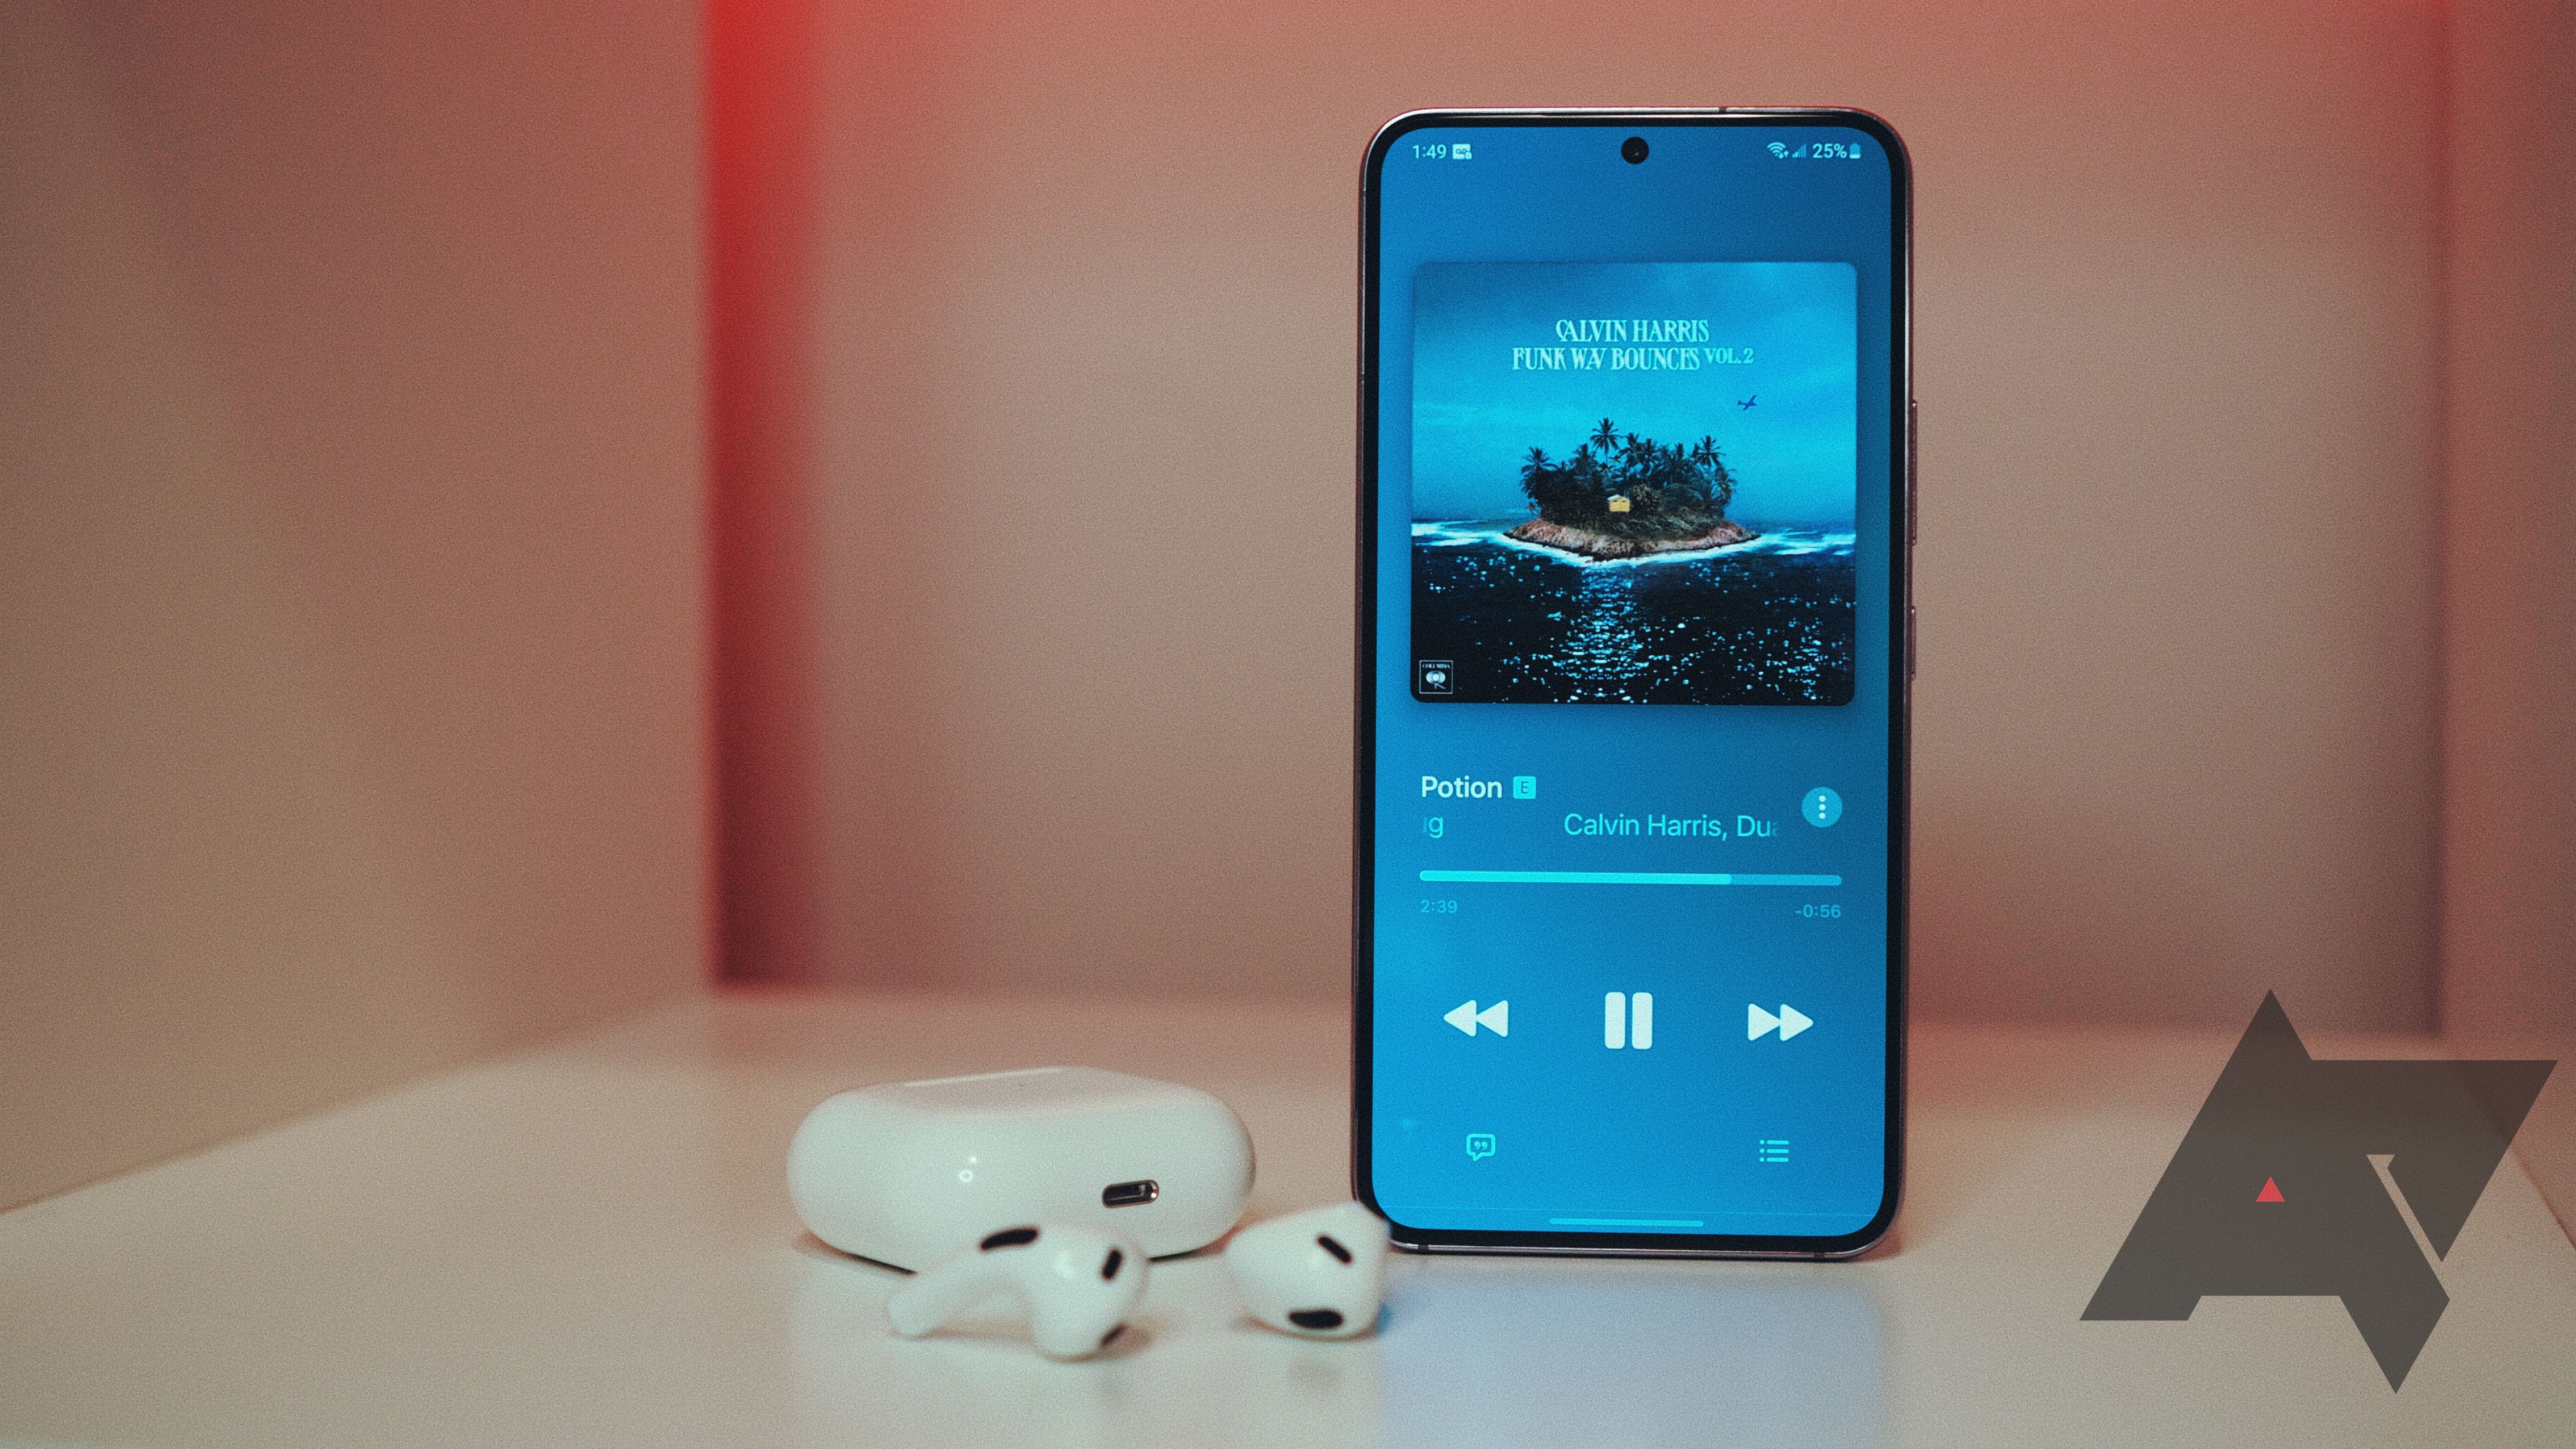
You can absolutely use AirPods with your Android phone, although you’ll have to accept some built-in limitations. First, you’ll have to pair your AirPods the old-fashioned way: Find the small button on the back and press to hold it down until a white light blinks. This forces a Bluetooth pairing mode so you can look up your Bluetooth list on your Android and find the AirPods to pair them. Once they are paired, your phone should keep recognizing them, although you may have to re-pair after updates.
Essential AirPod sound works just fine on Android devices, and pretty much anything else with Bluetooth (that includes things like a Switch or a smart speaker, too). But the Apple features won’t work on anything but Apple devices. That means you won’t have advantages like Find My, some touch controls, Siri, automatic ear detection or device switching, and other goodies. The AirPods become a much more basic type of earbuds, but you’ll get your audio, and advanced features on the AirPods Pro like active noise cancelling still work
6 Tap into wireless charging
You wouldn’t know at a glance, but most AirPod charging cases are compatible with wireless charging. Apple added support after the AirPods Gen 1, so anything AirPods within the last several years should be compatible. Find a Qi-based charging pad and position your charging case on top. You’ll probably have to nudge it around a bit to get the charging light to turn on, but you’ll still have full charging capabilities with the right positioning.
7 Turn off automatic ear detection
We’re big fans of automatic ear detection, which allows the AirPods to tell when you’ve placed them in your ears or when you’ve taken them out (or they’ve fallen out), so they can play/pause whatever you’re listening to. However, that kind of detection doesn’t work for everyone’s listening habits. If you have a habit of taking out an earbud frequently but don’t want the sound to pause, you may want to turn it off.
Don’t worry, it’s a simple change. Head to Apple Settings, active your AirPods, and select them to head into their menu. Scroll down a bit and you should find the Automatic Ear Detection section. There’s a basic toggle to flip the feature off. Just watch your battery life when it’s not on.
8 Choose what Siri announces
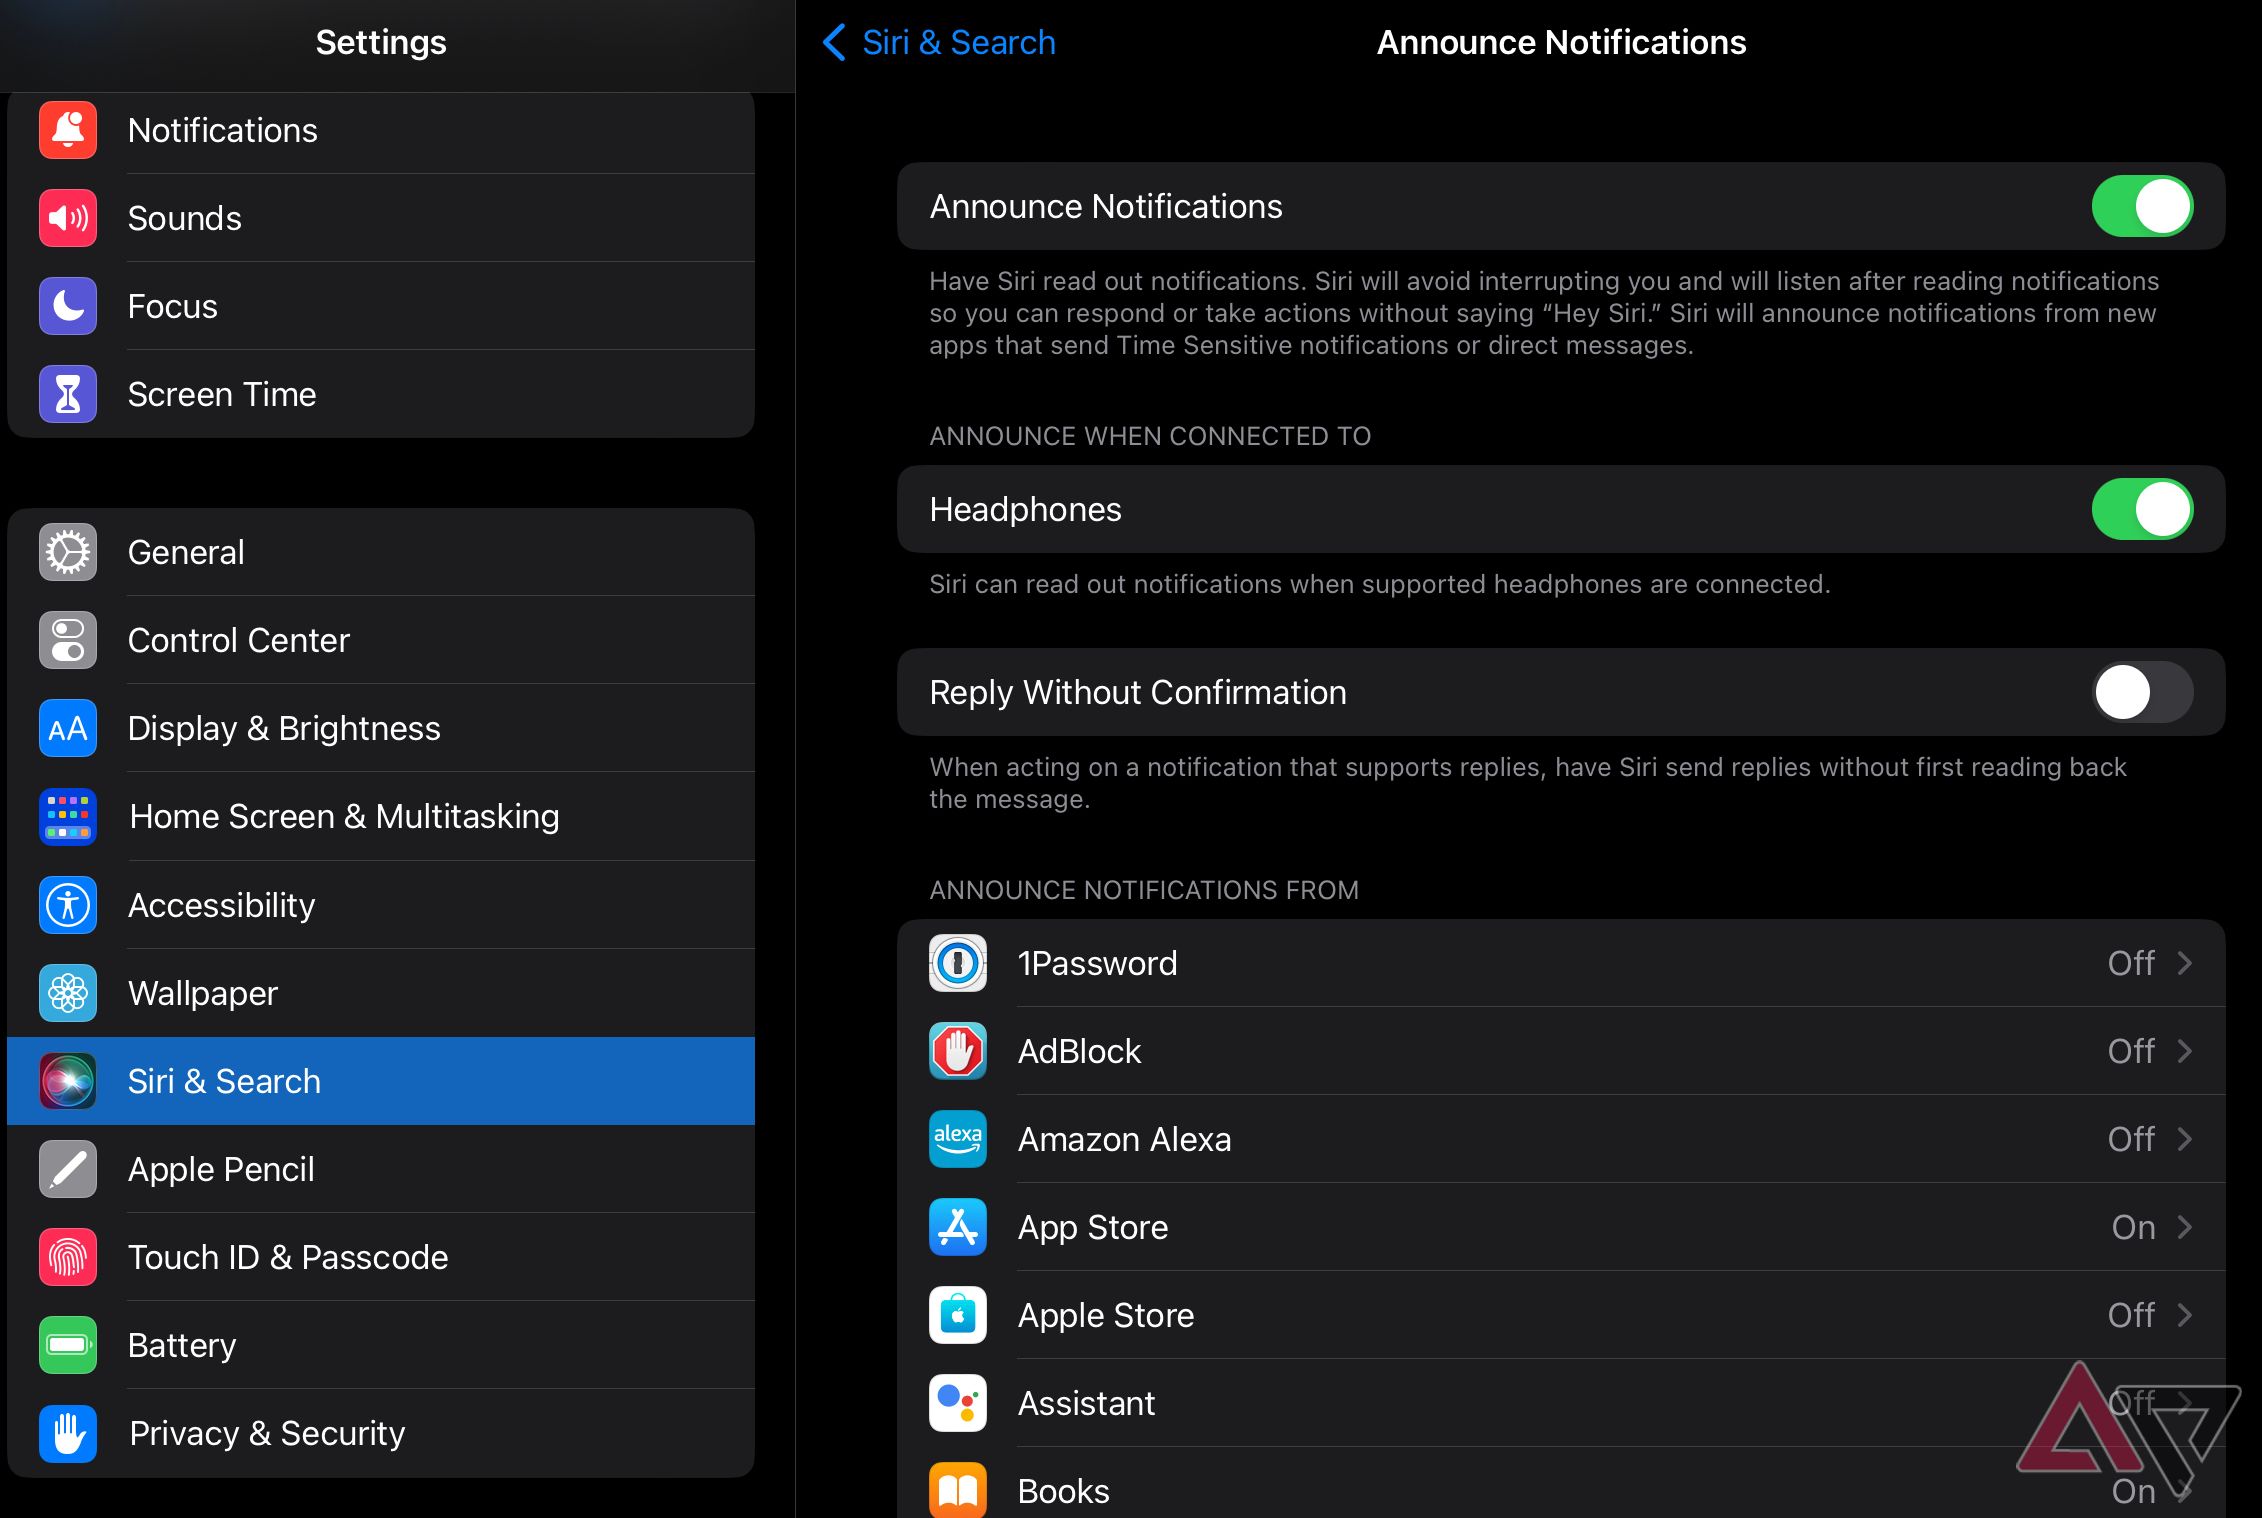
Source: Screenshot
With Siri in your ear, she can pause your music and give you important updates. That may sound a little annoying, but with the right customization it’s an excellent feature. Head to Apple Settings, Notifications, and Announce Notifications to choose which apps to get Siri notifications from. You can find the same Announce Notifications menu in the Siri & Search menu if you prefer.
Feel free to turn off absolutely all announcements except the ones you really want to get. For example, if you have a Nest Doorbell, you can choose to leave Google Home turned on, and get notifications about who has rung your doorbell or approached with a package. There are lots of possibilities here, so adjust it as you use your AirPods to see what’s useful.
9 Don’t forget to periodically clean the charging case

The shiny charging case can get dirt trapped inside over time, which interferes with the charging process. Every few months, grab a cotton swab stick like a Q-Tip and wipe the inside thoroughly to remove all grim. A tiny bit of rubbing alcohol can help clean more stubborn internal stains. Leave your case open for a few hours to thoroughly dry out if you use water or any cleaners on it.
Power to the Pods
With these tips you’re ready to dive into AirPod settings, wirelessly charge, turn off the features you don’t like, and lots more. Since Apple’s adding new features all the time — like the welcome switch to USB-C — we’ll keep an eye on what new tricks are worth learning, too. But if AirPods aren’t really your style or don’t feel wallet-friendly, take minute and check out alternative with the best cheap true wireless earbuds.
[ad_2]
